Comment construire, maintenir et profiter du feu parfait
Construire le feu parfait ne consiste pas seulement à empiler du bois et à frapper un match. Il nécessite les bons matériaux, la bonne technique et une sensibilisation aiguë à la sécurité et à la responsabilité environnementale. Que vous soyez un campeur chevronné ou un premier constructeur d'incendie, nous vous aiderons à maîtriser les étapes d'une expérience réussie.

Avant de commencer, choisissez un emplacement sûr. Vérifiez toujours les interdictions d'incendie ou les restrictions avant d'allumer un match. Si vous n'êtes pas sûr, un Ranger ou un hôte de camp pourra vous le dire. Vous pouvez également consulter le site Web du ministère des Ressources naturelles. S'il y a un risque élevé, utilisez un poêle pour cuisiner au lieu d'un feu de camp. Utilisez un anneau de feu désigné avec une grille fournie au camping. Si aucune bague n'est disponible, choisissez un endroit sur la saleté, loin des arbres, des racines et de la végétation sèche, à au moins quinze pieds des tentes. Si ce n'est pas trop venteux, construisez un brillance avec des rochers ou des bûches. Ayez de l'eau et une petite pelle à proximité pour vous aider à contrôler l'incendie. Gardez les incendies petits et gérables car vous pouvez facilement perdre le contrôle d'un grand incendie.

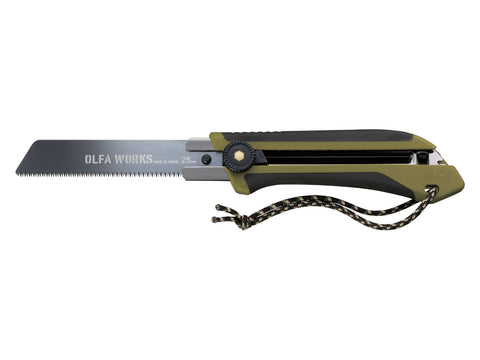
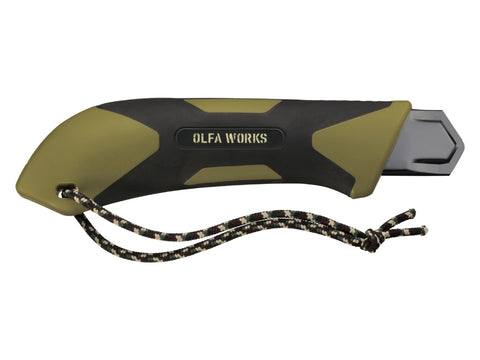
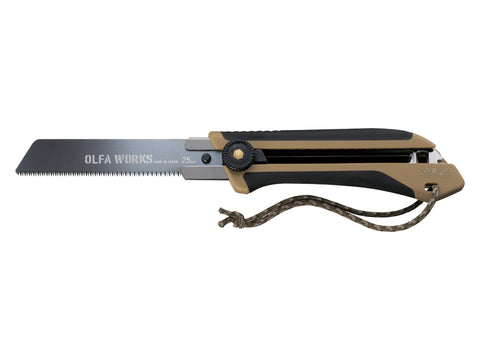
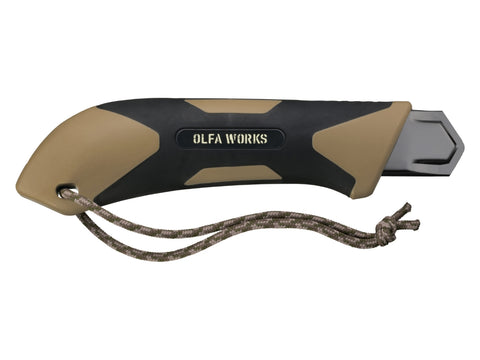
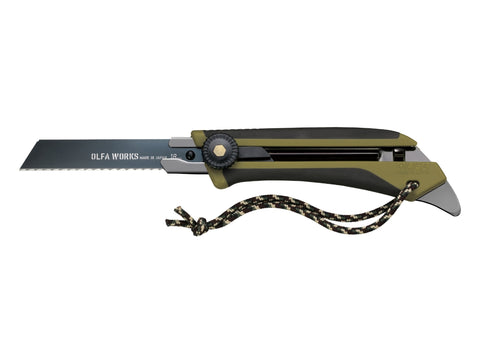
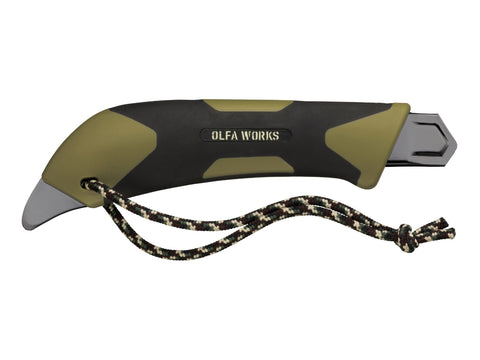
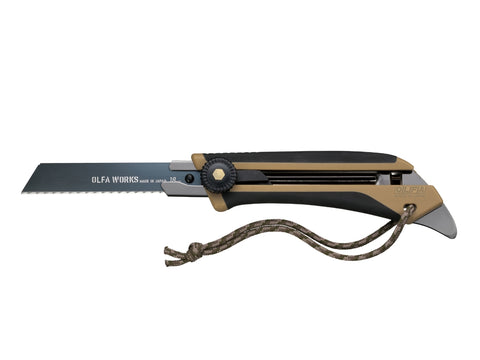
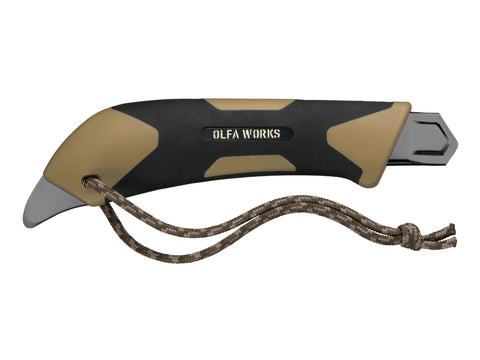
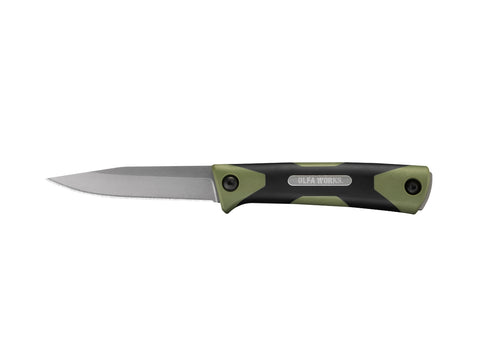
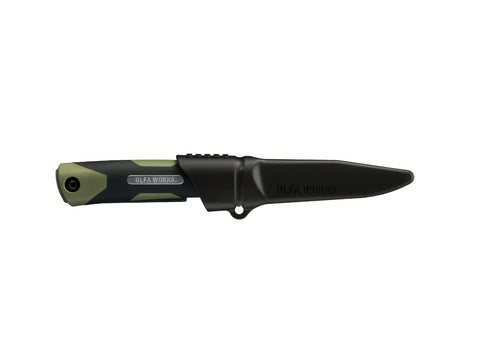
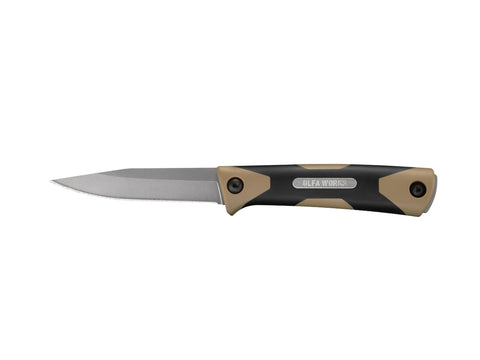
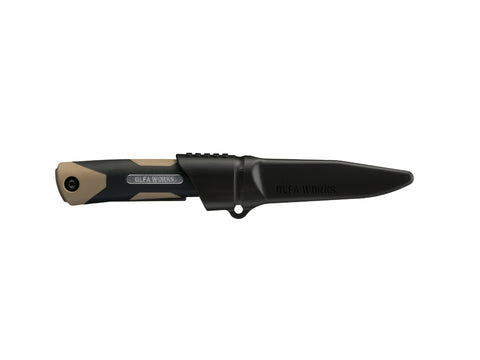
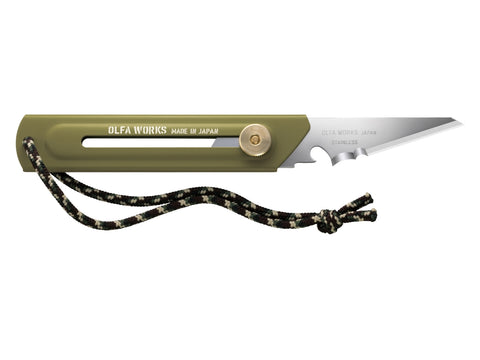
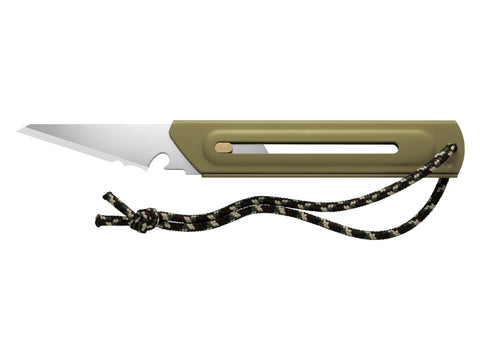
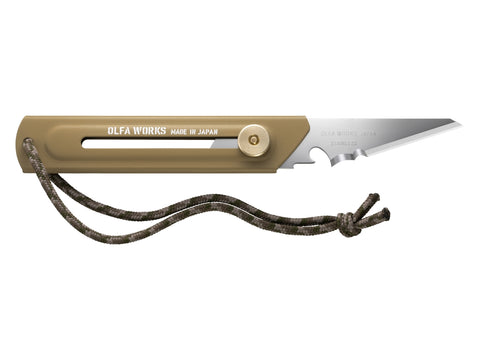
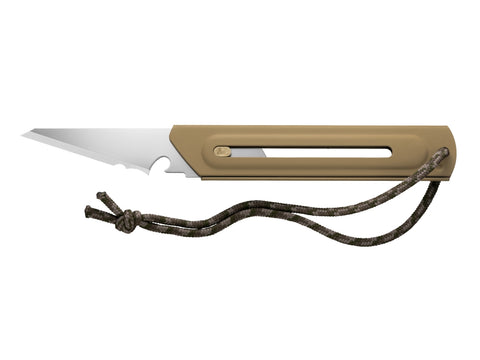
Rassemblez vos matériaux. Vous aurez besoin de trois types de carburant pour votre incendie - Tinder, Kindling et Feuw Bood. Tinder peut être des feuilles sèches, de l'herbe, des copeaux de bois ou du papier. L'allumage est de petits bâtons sur la taille d'un crayon. Vous pouvez couper le kindling à partir de journaux plus grands en utilisant un Olfa fonctionne Bushcraft Saw ou le Sanga Bushcraft Couteau. Rassemblez Tinder et allume le bois loin de votre camp pour éviter d'épuiser les ressources près du camping, en particulier dans une zone sauvage. Ne coupez jamais les arbres vivants et n'utilisez que ce dont vous avez besoin. Achetez du bois de chauffage auprès de la station Ranger ou d'une source de bois réputée dans la région - ne transportez pas de bois de chauffage ailleurs pour éviter la propagation de la maladie. Des billes plus importantes ou du bois fendu garderont votre feu brûler plus longtemps.

Différentes méthodes de démarrage des incendies servent différentes fins pour construire le bon type de feu pour améliorer votre expérience de feu de camp. La méthode du tipi est excellente lorsque vous avez besoin d'une flamme rapide pour la chaleur ou la cuisson. Empilez votre Tinder au centre et entourez-le de allumage en forme de cône. Percer des bâtons plus grands autour du centre, ajoutant des bûches plus grandes à mesure que le feu pousse. La méthode de tir à la cabane en rondins vous donne un feu qui dure plus longtemps et brûle plus uniformément. Commencez par poser le bois d'allumage au centre à l'aide de la méthode du tipi, puis au fur et à mesure que le feu attrape, empilez les bûches autour du centre sous une forme ressemblant à une cabane en rondins. Continuez à y ajouter au fur et à mesure que les journaux brûlent, mais évitez d'ajouter trop. Pour allumer un feu, utilisez un match, un briquet ou un démarreur de feu pour allumer l'amadou. Petit à petit, ajoutez le bois d'allumage puis le bois de chauffage une fois le feu. Ayez un bâton à portée de main pour régler le bois pour vous assurer que vous avez la bonne quantité de flux d'air. Gardez l'eau et une pelle à proximité, ainsi que des gants ignifuges et un chiffon humide.
Les feuilles de feu sont pratiques, surtout si votre camping est humide ou pluvieux. Vous pouvez acheter Prepade Firestarters, mais il est plus amusant de faire le vôtre. Les boules de coton et les entrées de gelée de pétrole sont légères et faciles à faire. Frottez une généreuse quantité de gelée de pétrole en boules de coton, puis stockez-les dans un sac en plastique. Restez partout lorsque vous devez commencer un feu, allumant les fibres avec un match. Ils devraient brûler pendant environ cinq minutes. Faites des démarreurs de feu recyclés avec des peluches de sèche-linge, des cartons d'oeufs et des bougies ou des crayons. Mettez des peluches dans les sections de carton d'oeufs, puis faites fondre la cire dans une double chaudière ou une boîte de boîte sur un feu. Versez la cire fondue sur chaque section, en la laissant refroidir et durcir. Coupez les sections. Ceux-ci brûleront environ 15 minutes une fois que vous les allumerez. Les restes de sciure ou de copeaux de bois - disponibles à partir d'un chantier de bois ou d'un chantier de construction - faites d'excellents foyer lorsque vous se combinez avec de la cire fondu. Ligner des moules à muffins avec des revêtements de cupcakes en papier. Remplissez de sciure, puis versez sur de la cire fondue et remplissez le bord. Laissez-les durcir puis les retirer de la boîte à muffins. Ceux-ci brûlent généralement pendant une période plus longue - 15 à 20 minutes environ. Une dernière idée de Firestarter recyclée consiste à prendre des rouleaux de papier toilette vides et à les bourrer étroitement avec des peluches plus sèches. Vous pouvez également utiliser du papier sciure ou râpé. Pliez les extrémités pour garder le remplissage sécurisé. Envelopper de gelée de pétrole ou de cire pendant une période de brûlure plus longue. Ils brûlent rapidement, environ cinq à dix minutes.

Démarrer un feu sous la pluie peut être difficile, mais cela ne signifie pas que commencer un incendie est impossible. Regardez sous l'écorce d'arbre, à l'intérieur des bûches ou sous des rochers pour le matériau sec. Vous pouvez vous raser l'écorce extérieure de bâtons pour accéder à une couche sèche. Les armes de feu sont utiles dans ces conditions. Les matchs imperméables ou un briquet sont un must! Construisez votre feu sur un lit de bâtons secs pour le garder hors du sol humide. Si vous le pouvez, creusez une tranchée pour que l'eau puisse s'écouler. La méthode du tipi ou de la cabane en rondins permet un flux d'air et cela encouragera une brûlure efficace. Avant d'ajouter des bûches plus grandes, alimentez la flamme avec du bois sec plus fin pour le faire avancer.
Avoir des enfants autour d'un feu de camp est très amusant et une expérience merveilleuse pour eux. Les enfants sont impulsifs, cependant, il est donc important de les garder en sécurité autour du feu. Tout d'abord, définissez des règles de sécurité incendie claires. Dessinez un «cercle de sécurité» de trois pieds autour du feu et apprenez à vos enfants à rester en dehors du cercle. Il ne devrait pas y avoir de jeu ou de courir près du feu et ils ne devraient pas y jeter des canettes ou des plastiques. Apprenez aux enfants à s'arrêter, à tomber et à rouler si leurs vêtements prennent le feu et comment utiliser une couverture pour étouffer les flammes. Un adulte a besoin de regarder le feu et de les superviser tant qu'un incendie est allumé. Il aide à affecter un observateur au lieu de supposer que quelqu'un d'autre regarde. Placer les chaises de camp ou les bûches pour s'asseoir à une distance de sécurité afin que personne ne tombe accidentellement dans le feu. Gardez un godet d'eau et pellez près du feu. C’est probablement une bonne idée d’avoir aussi de la crème de brûlure dans votre trousse de premiers soins. Lorsque le plaisir est terminé pour la nuit - la torréfaction de guimauve, la narration, les chants de chansons - impliquent des enfants à éteindre le feu.

Au cas où vous avez oublié d'apporter des bâtons de rôtissage achetés en magasin, voici une méthode de bricolage qui sauvera la journée. Répartir la zone pour une branche verte robuste. Utiliser un Olfa fonctionne Bushcraft Saw pour le couper. Dépuiser l'écorce et aiguiser la fin avec un Sanga Bushcraft Kife. Assurez-vous que les branches sont robustes et assez longues pour protéger les enfants du feu. Utilisez-le pour rôtir des hot-dogs ou des guimauves. Et ne le brûlez pas si vous restez pendant plusieurs jours!
Avant de vous coucher ou à tout moment de quitter votre camping, vous devez vous assurer que le feu est complètement éteint. Tout d'abord, laissez-le brûler en cendres avant d'essayer de l'éteindre. Versez de l'eau sur les braises et remuez-les avec un bâton. Continuez à le faire jusqu'à ce qu'ils soient tous éteints et que le feu semble froid. Testez-le avec le dos de votre main. S'il semble encore chaud, ce n'est pas sorti. Ajouter plus d'eau et continuer à remuer. C'est le bon moment pour enseigner aux enfants comment éteindre également un feu en toute sécurité. Laissez-les participer autant qu'ils sont capables de leur âge. Apprenez-leur que les cendres peuvent rester chaudes pendant longtemps et qu'ils devraient continuer à rester à l'écart de la bague de feu.
Chaque fois que vous campez, ne laissez pas votre Olfa fonctionne outils derrière. Ils sont utiles pour les emplois de camp, en particulier la construction et le maintien de votre feu de camp!

