Premiers secours pour les campeurs et les canoéistes
L’aventure ne se déroule pas toujours comme prévu. Voici comment réagir en cas d’accident sur les sentiers, au camp ou sur l’eau.

Le camping et le canoë nous emmènent dans des endroits où le service cellulaire est interrompu et où la route la plus proche peut être à des kilomètres. C’est le frisson de l’immersion dans la nature, la paix de pagayer sur un lac calme, le défi de parcourir des sentiers accidentés. Mais que se passe-t-il lorsque l’inattendu survient ? Une cheville tordue, un couteau qui glisse en cuisinant ou encore un chavirage dans une eau agitée peuvent rapidement transformer une sortie en situation de survie. Connaître les premiers secours de base et savoir rester calme peut faire la différence entre un revers mineur et une véritable urgence. Que vous soyez avec des amis ou en solo, voici comment vous pouvez vous préparer, réagir et rester en sécurité lorsque des urgences médicales interrompent votre aventure.
Soyez prêt avant de partir. Emportez une trousse de premiers soins comprenant des bandages, des lingettes antiseptiques, de la gaze, du ruban adhésif médical, des pincettes, des plaquettes thermoformées, des analgésiques, des antihistaminiques et une attelle. D'autres extras de survie devraient inclure un sifflet, une boussole, une couverture de secours, des allumettes imperméables et une méthode de purification de l'eau. Connaissez votre itinéraire, marquez les points de sortie et partagez vos projets avec ceux qui restent à la maison. Suivez également une formation. Un cours de base de premiers secours ou un cours de premiers intervenants en milieu sauvage est inestimable.

Certaines blessures courantes lorsque vous campez sont souvent des coupures et des éraflures, des entorses, des foulures musculaires, des ampoules ou des brûlures. Pour une coupure ou une chute qui ouvre une plaie, nettoyez-la d'abord avec de l'eau traitée pour éliminer les saletés. Séchez-le puis appliquez un antiseptique et recouvrez d'un pansement stérile. Pour les foulures ou les entorses, utilisez la méthode RICE : repos, glace (ou eau froide du ruisseau), compression, élévation. Appliquez une attelle si nécessaire et associez-vous si la marche est impossible. Les ampoules réagissent en les rembourrant avec de la moleskine ou une plaquette thermoformée. Ne sautez pas à moins que vous n’ayez pas le choix ! Si vous vous brûlez, passer la zone sous l’eau propre et fraîche pendant 10 minutes ou plus vous aidera. Couvrez-le légèrement avec une gaze stérile, en évitant les crèmes ou les graisses.
Si une entaille saigne abondamment, contrôlez le saignement en suivant ces étapes. Appliquez une pression directe avec un chiffon propre, un bandage ou une compresse de gaze. Utilisez votre main si rien d’autre n’est disponible. Maintenez une pression ferme et constante pendant au moins 10 minutes sans « jeter un coup d’œil » pour voir si cela fonctionne. Élevez la blessure au-dessus du niveau du cœur, si possible, pour ralentir la circulation sanguine. Si le saignement continue, ajoutez d’autres couches de tissu ou de bandage par-dessus – n’enlevez pas celles qui sont trempées. En dernier recours, utilisez un garrot en cas de saignement grave d’un membre qui ne s’arrête pas. Placez-le 2 à 3 pouces au-dessus de la plaie, serrez jusqu'à ce que le saignement s'arrête et notez le temps appliqué.
Pansez correctement la plaie. Pour les petites coupures/éraflures : nettoyer, appliquer un antiseptique, recouvrir d'un pansement adhésif. Pour les plaies plus larges : placez une gaze ou un chiffon stérile sur la plaie. Enroulez-le fermement avec un bandage ou une bande de tissu pour le maintenir en place. Assurez-vous que la circulation n’est pas coupée – vérifiez la couleur et la chaleur des doigts/orteils. Pour les articulations : utilisez un motif en forme de huit autour des genoux, des coudes ou des chevilles pour permettre le mouvement tout en gardant le bandage bien fixé.

Un membre cassé ou une entorse grave peut nécessiter une attelle. Trouvez des supports rigides, tels que des pagaies, des bâtons de randonnée, des branches solides ou des piquets de tente. Rembourrez l'attelle avec des vêtements ou un matériau doux pour réduire l'inconfort. Positionnez l'attelle le long du membre blessé, en gardant l'articulation au-dessus et en dessous de la blessure immobilisée. Fixez-le avec des bandages, du ruban adhésif ou des bandes de tissu, suffisamment serrés pour tenir, mais pas au point de couper la circulation. Vérifiez la circulation en appuyant sur les ongles des mains ou des pieds. La couleur devrait revenir dans les 2 secondes.
Une blessure peut être si grave qu’il faudra évacuer la personne blessée. S’ils peuvent marcher avec de l’aide, utilisez la méthode de la « béquille humaine ». Enroulez son bras autour de vos épaules et soutenez-le à la taille. S’ils ne peuvent pas marcher, vous pouvez faire plusieurs choses. Pour un transport à deux, chaque personne relie ses bras sous les jambes et le dos de la personne blessée, la portant comme un siège. Pour improviser une civière, utilisez deux perches solides (pagaies ou branches) avec des vestes ou une bâche tressée entre elles. Placez une personne devant et derrière, puis soulevez délicatement. La méthode de traînage par un sauveteur solo pourrait être votre seul choix. Si le terrain le permet, tirez-les sur un matelas, une bâche ou un canoë pour réduire la tension. Faites des pauses fréquentes. Les évacuations sont épuisantes, alors changez de transporteur si vous êtes en groupe.
Une urgence peut survenir pendant que vous êtes dans l’eau. Votre canot pourrait chavirer ou quelqu'un tomberait. Restez avec votre canot ou votre kayak. Il flotte et augmente votre visibilité. Rendez-vous à terre le plus rapidement possible, puis utilisez votre trousse de premiers soins pour traiter l'hypothermie si l'eau était froide.

Si quelqu’un se noie, restez d’abord en sécurité. Ne vous lancez pas immédiatement. De nombreux sauveteurs deviennent ainsi des victimes. Si vous n'êtes pas formé au sauvetage aquatique, restez hors de l'eau, sauf en cas d'absolue nécessité. Criez à l’aide et demandez à quelqu’un d’appeler immédiatement le 911 si le service est disponible. Si vous vous trouvez dans une région éloignée, utilisez un messager satellite ou envoyez quelqu'un chercher de l'aide pendant que vous commencez le sauvetage. Gardez ces mots à l’esprit : atteindre, lancer, ne pas y aller. Tendez une pagaie, une branche ou une corde à la personne. Demandez-leur de s'accrocher pour pouvoir les tirer. Lancez un gilet de sauvetage, un sac à lancer ou même une glacière vide pour les aider à flotter. Évitez d’entrer dans l’eau à moins d’être formé et c’est absolument la dernière option. Si vous devez entrer dans l'eau, apportez un vêtement de flottaison pour vous et la victime. Approchez-vous prudemment par derrière si possible (les victimes paniquées pourraient vous tirer vers le bas). Gardez vos distances et poussez-leur un dispositif de flottaison, plutôt que de les attraper directement. Une fois qu’ils sont hors de l’eau, vérifiez immédiatement leur respiration et leur pouls. S’ils ne respirent pas, commencez les insufflations et la RCR. (Deux insufflations, suivies de 30 compressions thoraciques, puis continuez la séquence. S'il est seul, effectuez la RCR pendant deux minutes avant de partir pour obtenir de l'aide si personne d'autre n'est disponible. S'il respire mais inconscient, faites-le rouler sur le côté. Inclinez légèrement la tête en arrière pour garder les voies respiratoires ouvertes, la bouche pointée vers le bas pour permettre aux liquides de s'écouler. S'il arrête de respirer, roulez-le sur le dos et recommencez la RCR. Traitez l'hypothermie en enlevant les vêtements mouillés, puis en les enveloppant dans des couvertures et en les réchauffant. lentement.
Pour éviter les noyades, portez toujours un gilet de sauvetage bien ajusté lorsque vous faites du canoë, du kayak ou de la natation dans des régions éloignées. Surveillez de près les enfants près de l’eau. Évitez l'alcool lorsque vous faites du bateau ou de la natation. Apprendre les bases du sauvetage aquatique et de la RCR avant votre voyage est indispensable !
Consultez un médecin professionnel si vous présentez un saignement qui ne s'arrête pas après 10 minutes de pression, de blessures à la tête, au cou ou à la colonne vertébrale, de douleurs thoraciques, de difficultés respiratoires ou de symptômes semblables à ceux d'un accident vasculaire cérébral. Les réactions allergiques graves (utiliser l'épinéphrine si disponible), les fractures avec déformation visible, les signes d'infection, tels que gonflement, pus, fièvre, nécessitent également l'aide d'un professionnel.
Utilisez le service cellulaire si disponible ou emportez un messager par satellite pour les voyages à distance. Activez SOS uniquement si la situation met la vie en danger.
Si vous êtes blessé et seul, restez calme et évaluez les dégâts. Ne gaspillez pas votre énergie à paniquer. Arrêtez d’abord de saigner. Appliquez une pression, surélevez et pansez la plaie. Stabilisez vos blessures. Attelle avec bâtons de randonnée, pagaies ou branches. Appel à l’aide – utilisez trois coups de sifflet, un équipement réfléchissant, des vêtements clairs ou de la fumée provenant d’un feu. Si bouger aggrave votre blessure, restez visible et attendez de l’aide. Restez hydraté et au chaud. L’exposition peut devenir mortelle plus rapidement que la blessure elle-même.
La chose la plus importante que vous puissiez faire en cas d’urgence médicale est de rester calme. Les urgences sont accablantes. Un état d’esprit calme et progressif améliore les chances de survie. Assurez-vous que vous êtes en sécurité avant de commencer à traiter une blessure. Traitez d’abord les problèmes potentiellement mortels. Rassurez la personne blessée, ou vous-même, en lui disant que tout ira bien.
L’aventure comporte toujours des risques, mais le risque ne signifie pas nécessairement un désastre. En vous préparant avant votre départ, en pratiquant les premiers secours de base et en sachant comment gérer les imprévus, vous pouvez éviter qu'une mauvaise situation ne s'aggrave. Que vous parcouriez des sentiers accidentés, pagayiez sur des lacs isolés ou campiez au cœur de la forêt, ces compétences vous garantissent d'être prêt lorsque la nature devient difficile. Emportez un kit, apprenez les bases et faites-vous confiance. Vous avez ça !
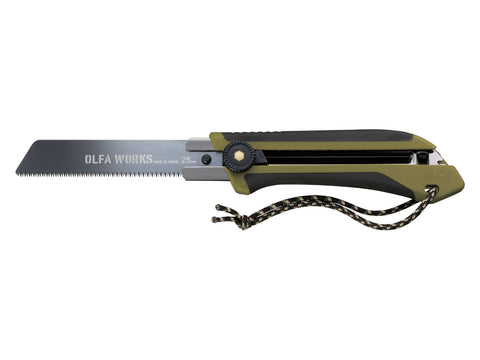
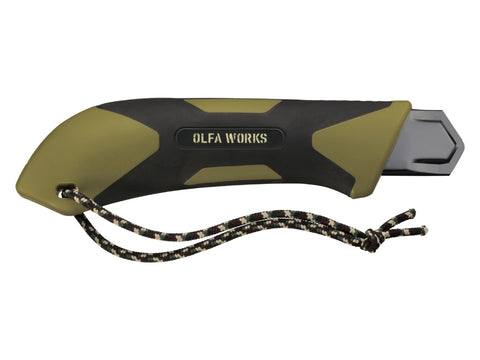
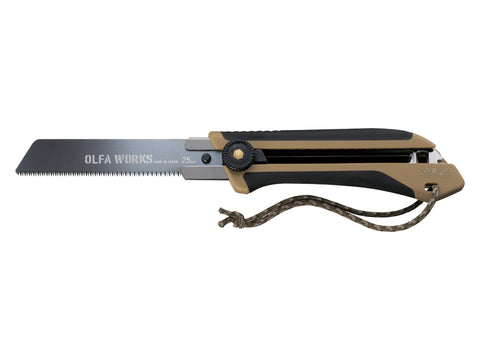
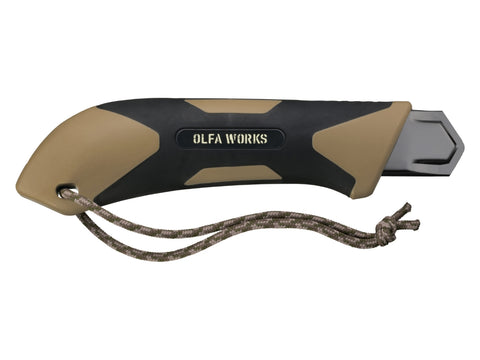
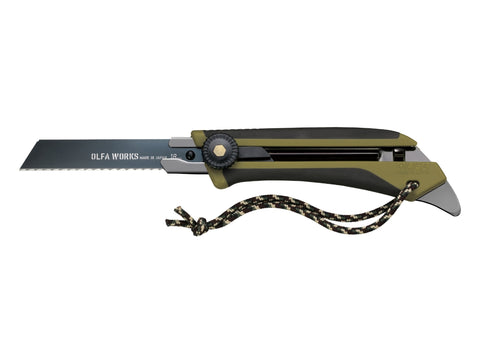
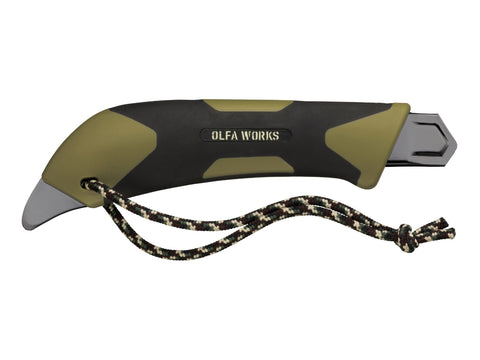
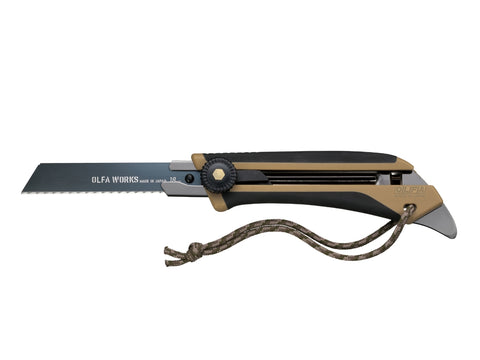
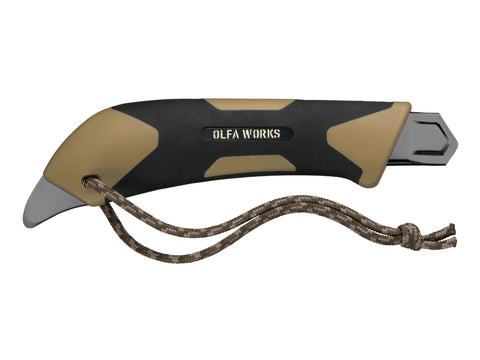
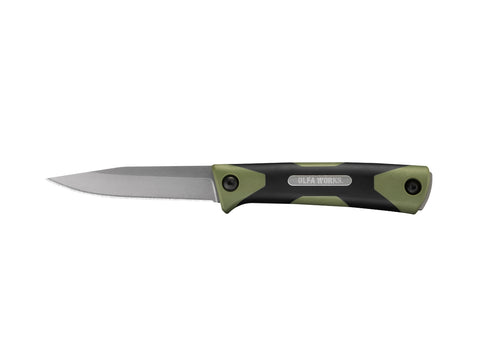
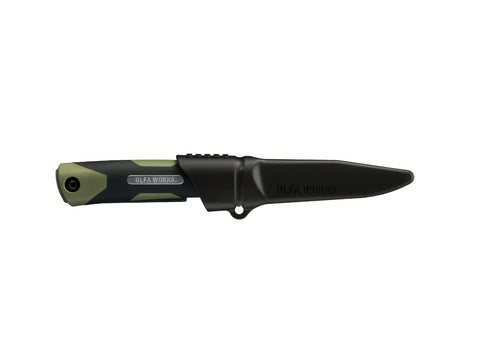
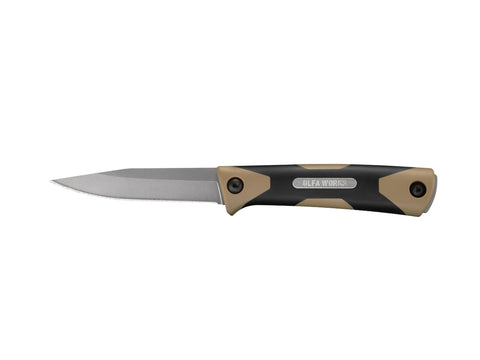
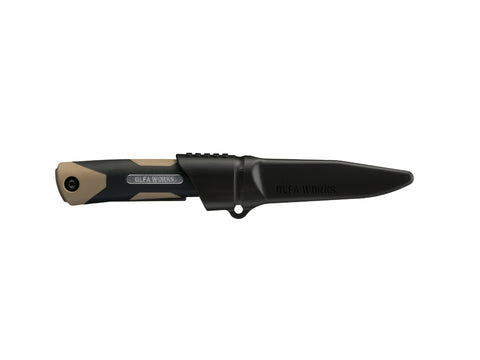
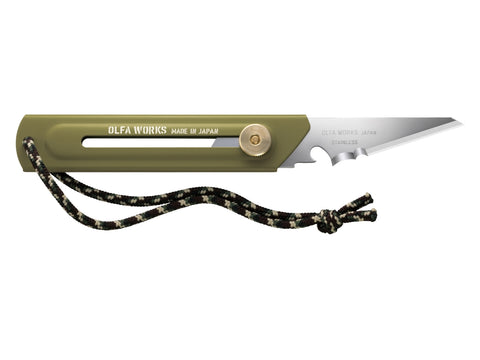
Pour plus de conseils de camping et d’inspiration pour le plein air, lisez notre bloguer et rejoignez l'aventure. N'oubliez jamais d'emporter votre Trousse à outils OLFA Works – vous regretterez de les avoir laissés à la maison si vous ne le faites pas.

